


Insomnia Setup
Insomnia Setup
Overview
This document provides instructions for setting up an Insomnia client to use against the FireFly Stack.
Download Insomnia and select Scratch Pad
Download is available here.
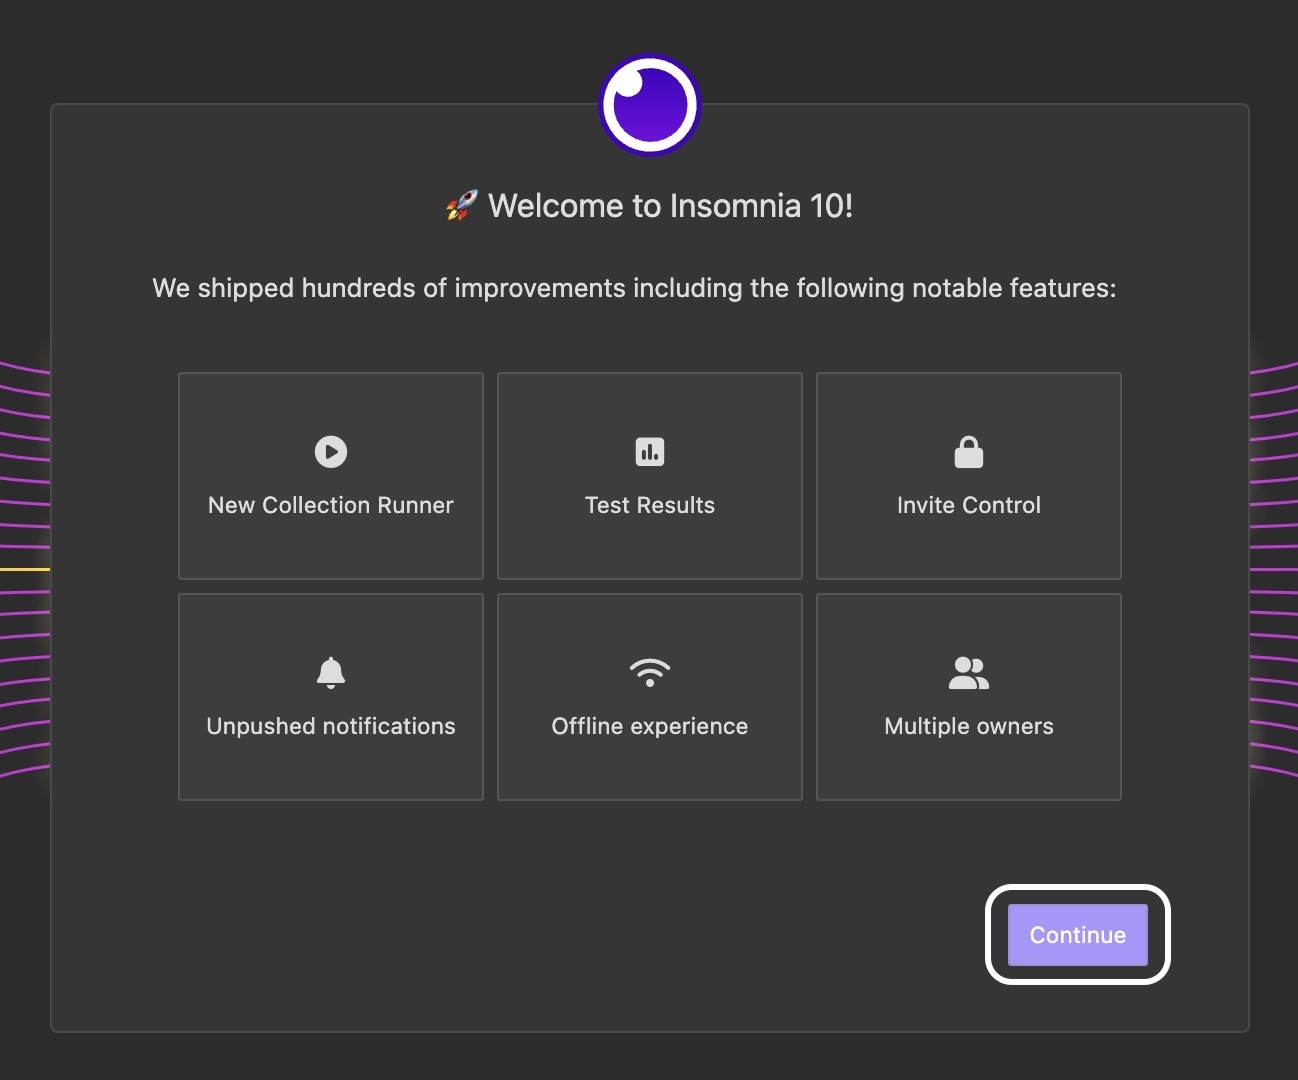
Click Continue:
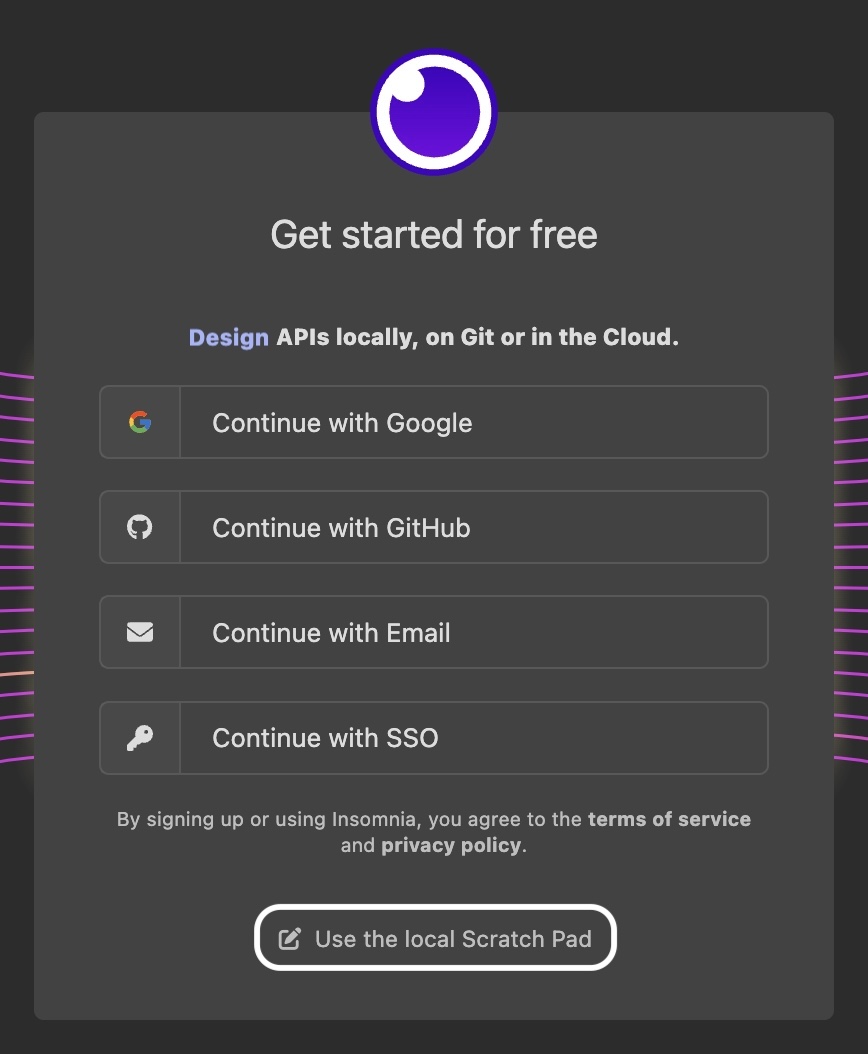
On the following Sign in screen, select Use the local Scratch Pad:
Clone the Request Collections Repository
The Request Collections repository contains many useful requests for FireFly and provides a handful of credentials for configuring OAuth 2.0 (next section).
Clone the repository to your local machine:
git clone git@ssh.gitlab.aws.dev:amazonmusic/musicfirefly/request-collections
You will also need to download jq, which is a lightweight and flexible command-line JSON processor. You can find download instructions here.
Run the
./fetch-secrets.shcommand in your terminal from the root of your cloned repository to set yourClient ID,Client Secret, andAPI Keyvariables within your collection, all of which will be referenced later.
Import the Request Collections into Insomnia
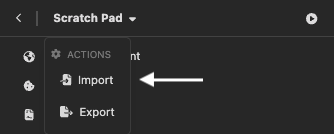
In the top left corner of the window, click the dropdown that reads “Scratch Pad” and select Import:
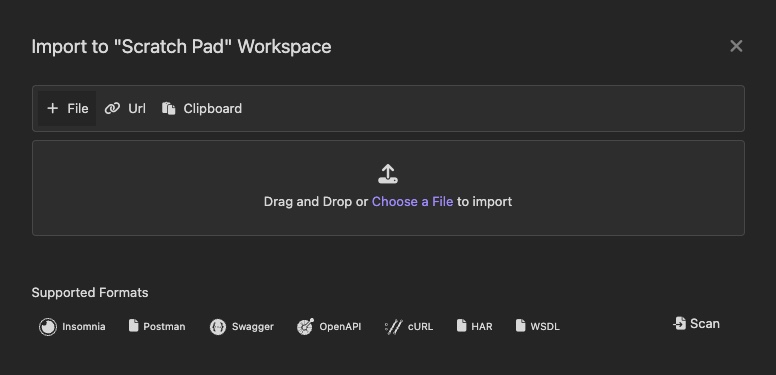
Click the File tab (if it is not currently selected) and click Choose a File:
Navigate to the cloned repository and select the collection file from the
insomniasubfolder:
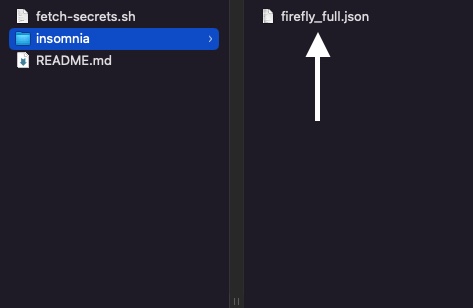
Click Scan to the review the overview of the collection:
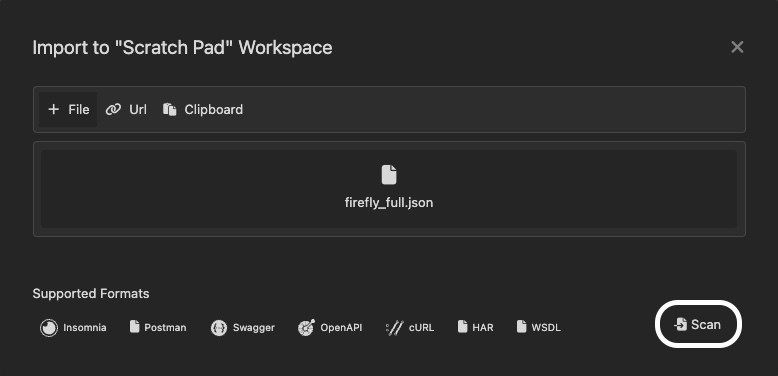
Click Import to load the collection into the left-hand sidebar:

Configure OAuth 2.0
In order to configure OAuth2 to be used with LWA (LoginWithAmazon), we need to reference the following:
Client IDClient Secret
We also need to provide safe listed URLs for: callback, auth and token URLs.
The FireFly team has already taken care of this for AmazonMusic developers. The OAuth 2.0 configurations are already set up for all requests inherited from the Request Collections, but if you want to create a new request, follow the rest of the instructions in this section.
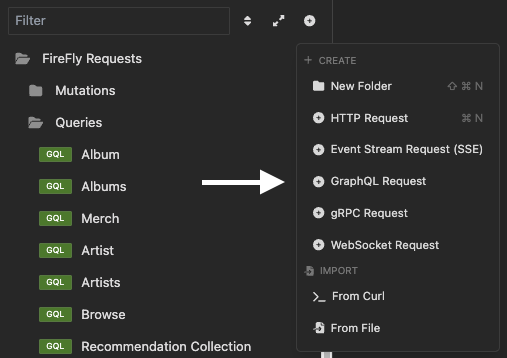
Click the Plus icon next to the Filter field and select GraphQL Request:
In the middle pane, select the Auth tab. Click the dropdown that reads “Inherit from parent” and select OAuth 2.0:

In the left pane, drag the New Request that you just made into the FireFly Requests subfolder of your choice (or create a new one). In this example, it will be put into the Queries folder.
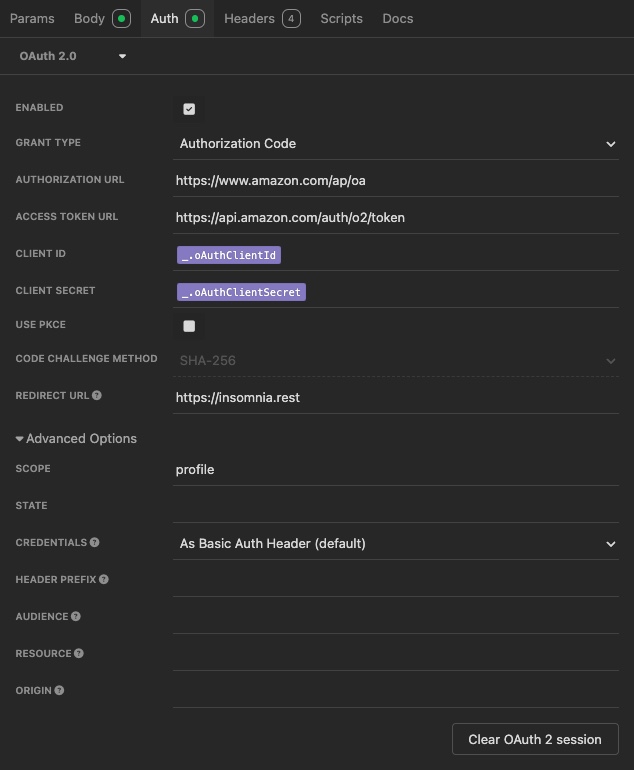
Back in the middle pane, add the authorization URLs and other fields as listed. Client ID and Client Secret will eventually show up as options in a dropdown:
Grant type:
Authorization Code
Authorization URL:
https://www.amazon.com/ap/oa
Access Token URL:
https://api.amazon.com/auth/o2/token
Client ID:
_.oAuthClientId
Client Secret:
_.oAuthClientSecret
Note: Select _.oAuthClientId and _.oAuthClientSecret variables from the dropdown menu rather than pasting the values directly.
Redirect URL:
https://insomnia.rest
Scope:
profile
State: leave blank
Credentials:
As Basic Auth Header
In the end, the Auth tab should look like the following:
Get New Token
Still in the middle pane, select Fetch Tokens:
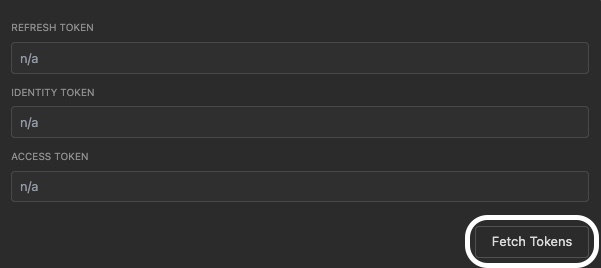
Note: You may need to select Fetch Tokens twice, and also select Clear OAuth 2 session.
You will be prompted to sign into Amazon. Sign in with an existing Amazon account or a test account used for Amazon Music. To create a test account:
Go to Kamino.
Click Search Preset.
Enter “AmazonMusic_” in the search field.
Identify the desired preset and click Create.
Review the preset information and click Create Customer.
Verify the test account actually has Amazon Music. You can check by logging into Amazon Music with the resulting email and password.
Copy email and password for login (account created is valid for a month).
Sign into the account using credentials copied in the above step.
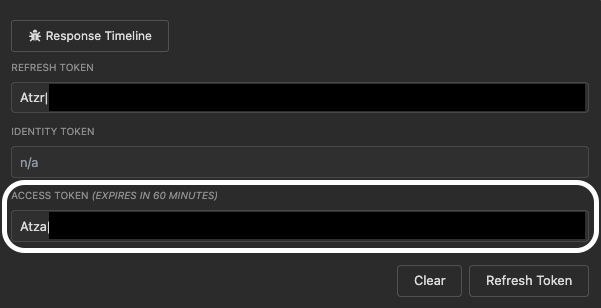
You’ll see the Refresh Token and Access Token fields populated. Copy the Access Token value:
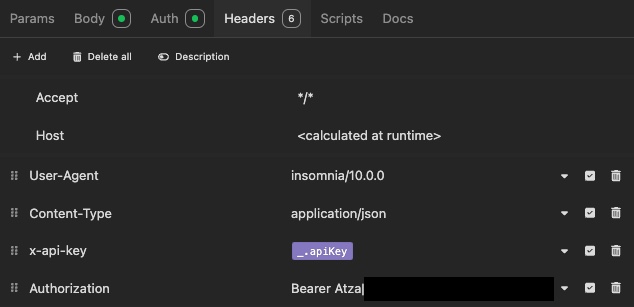
Create New Headers
Select the Headers tab.
Create the rest of the header entries under Header and Value by selecting Add. It is recommended to paste the token value from earlier into the “Authorization” header to avoid losing it. Prefix the token value with
Bearer Atza|. IfAtza|is already at the beginning of the token, simply prefix withBearerinstead.
Header |
Value |
|---|---|
|
|
|
|
|
|
|
|
Next, you’re ready to query.
Invoke the GraphQL API
Add
_.ffEndpointto the URL window to access the FireFly GraphQL API.For developer stacks, change the endpoint to your personal endpoint (e.g.,
https://zhangnyi.us-east-1.metal.beta.gql.music.amazon.dev/)
Select the Body tab. Add your query, set the method to Post and select Send.

Here’s the query example shown above:
query {
    track(id: "B0BS1XLZ75") {
        id
        audioQualities
    }
}
Common Errors
For troubleshooting Insomnia setup issues, see the Troubleshooting Guide.